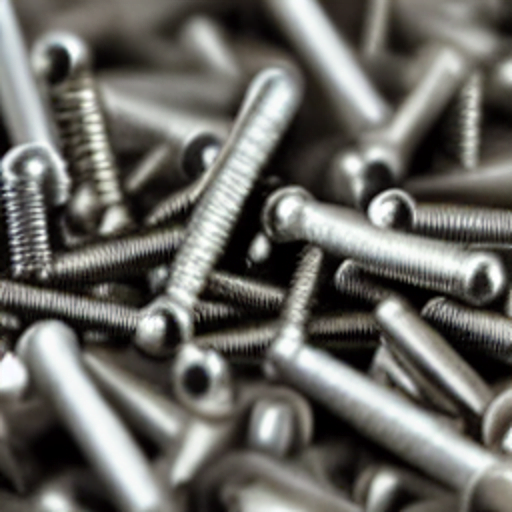
Self tapping screws represent a pinnacle of efficiency in modern construction. These specialized fasteners eliminate the secondary step of tapping threads into a substrate, effectively performing two functions in a single motion. Whether you are working with sheet metal, plastics, or heavy timber, understanding the mechanics of “the tap” is essential for structural integrity.
This guide provides a technical breakdown of how to utilize these fasteners properly while ensuring your projects meet professional standards.
Table of Contents
What is a Self Tapping Screw?
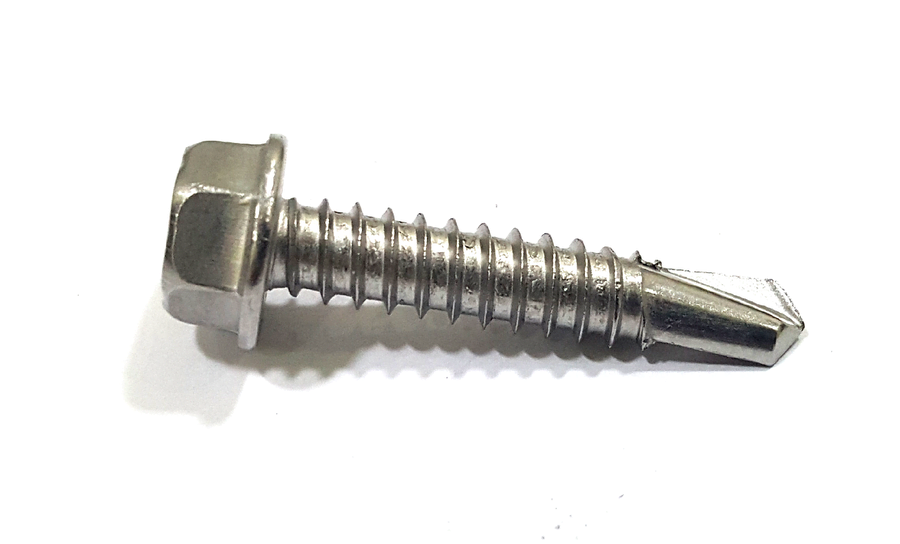
A self tapping screw is a fastener designed to create its own internal threads as it is driven into a material. Unlike standard wood screws or machine bolts that require a pre tapped hole, these screws feature a hardened leading thread or a specialized tip that carves or displaces material to form a secure, vibration resistant bond.
Understanding the Two Core Types
Not all self tapping screws function the same way. Choosing the wrong variety can lead to material failure or stripped heads.
1. Thread Forming Screws These are primarily utilized for softer materials like plastics or thin, pliable metals. Rather than removing material, they displace it, “forming” the threads by pushing the material outward. This creates a high friction fit that is excellent for resisting loosening due to vibration.
2. Thread Cutting Screws Designed for harder substrates, these screws have a notched tip that acts like a drill bit. They physically cut and remove material as they enter the substrate. These are the “gold standard” for metal to metal applications where a clean, precision thread is required.
How to Use Self Tapping Screws: A Step by Step Technical Guide
Step 1: Evaluate Material Compatibility
Before starting, match the screw material to the substrate. Using a zinc plated screw in a high moisture environment will lead to galvanic corrosion. Selecting the proper coating is vital for preventing premature fastener failure. You can find detailed research on industrial material protection and the prevention of galvanic corrosion through the Association for Materials Protection and Performance (AMPP). Ensure the screw length is sufficient to allow at least three full threads to exit the rear of the material for maximum pull out strength.
Step 2: Configure Your Power Tools
Professional results require a power drill or impact driver equipped with an adjustable clutch. Set your clutch to a medium tension. This prevents the motor from continuing to spin once the screw head is seated, which protects the newly formed threads from being “stripped” out by excessive torque.
Step 3: Precise Layout and Marking
Precision is non negotiable in professional fastening. Use a center punch or a permanent marker to identify the exact entry point. A center punch is particularly useful for metal applications as it creates a small indentation that prevents the screw tip from “walking” or sliding across the surface during the initial drive.
Step 4: Determine if a Pilot Hole is Required
While the name implies no preparation is needed, thick materials often require a pilot hole. If you are working with steel thicker than the screw’s flute length, drill a hole slightly smaller than the screw’s shank. This reduces the heat generated by friction and prevents the screw from snapping under high torque. For precise technical specifications on selecting the correct drill bit diameter based on your specific screw gauge and material density, you can refer to the comprehensive fastener data tables provided by the Engineering ToolBox.
Step 5: The Driving Process
Place the screw tip firmly on your mark. Begin driving at a low RPM to allow the threads to “bite” into the surface. Apply steady, vertical pressure. Once the screw begins to descend, you can increase the speed slightly, but remain alert for the moment the underside of the head meets the material surface.
Step 6: Final Inspection
A correctly installed self tapping screw should be flush and perpendicular to the material. If the screw spins freely, the hole is stripped, and you must move to a larger gauge screw to regain structural integrity.
Advanced Pro Tips for Success
- Match the Drive Bit Exactly: Using a Phillips #2 bit on a Pozidriv screw is a recipe for “cam out,” which ruins the screw head. Always verify that your driver bit fits the head with zero wobble.
- Manage Thermal Build Up: When driving into thick metal, the friction generates significant heat. This can weaken the temper of the screw. If you feel excessive heat, slow your RPM or use a cutting lubricant.
- Respect Material Thickness: Ensure that the “drill point” of the screw is longer than the thickness of the material being fastened. If the threads start before the hole is fully drilled, the two layers of material will be pushed apart rather than pulled together.
Self tapping screws are a versatile solution for rapid, secure fastening. By selecting the correct thread type (forming vs. cutting) and managing your tool’s torque settings, you can achieve professional grade results in half the time of traditional methods.
Related Resources:
- Learn about specialized self tapping deck screws for outdoor longevity.
- Technical guide: How to measure screw size and pitch accurately.
Disclaimer: This article is intended for informational purposes. For structural or load bearing applications, always consult with a structural engineer or a licensed contractor to ensure safety and code compliance.


1 Comment