Stripped screws can be a major hurdle in any construction, repair, or renovation project. Whether you’re an experienced craftsman or a DIY enthusiast, encountering a stripped screw can throw your project off track and cause unnecessary delays. This article offers a comprehensive guide on how to remove a stripped screw effectively, ensuring your project proceeds smoothly.
There’s no denying that screws are the unsung heroes of the construction, repair, and renovation world. These tiny, yet formidable fasteners hold together everything from complex machinery to the bookshelf you’re likely leaning against right now. But what happens when these screws, so crucial to the integrity of various projects, become stripped and unusable? Not only is it frustrating, but a stripped screw can also bring your entire project to a grinding halt, creating unnecessary delays and sometimes, even incurring additional costs.
Whether you’re a seasoned craftsman armed with a toolbox full of specialized equipment or a DIY enthusiast who’s more comfortable with simple hand tools, encountering a stripped screw is an equally daunting challenge. It disrupts your workflow and can become a significant roadblock if you’re not equipped with the right knowledge and techniques to deal with it. This issue becomes especially aggravating when you’re working under tight deadlines or are in the middle of a project that cannot proceed without the removal of the problematic screw.
That’s why we’ve crafted this comprehensive guide, dedicated to addressing the challenge of effectively dealing with stripped screws. The objective here is not only to provide immediate solutions but to also offer insights into the reasons screws become stripped in the first place. By understanding the underlying issues, you’ll be better prepared to prevent similar occurrences in the future, making your projects more efficient. So, let’s delve into the world of stripped screws and discover how to remove them effectively, ensuring that your projects, big or small, continue to proceed smoothly without any hiccups.
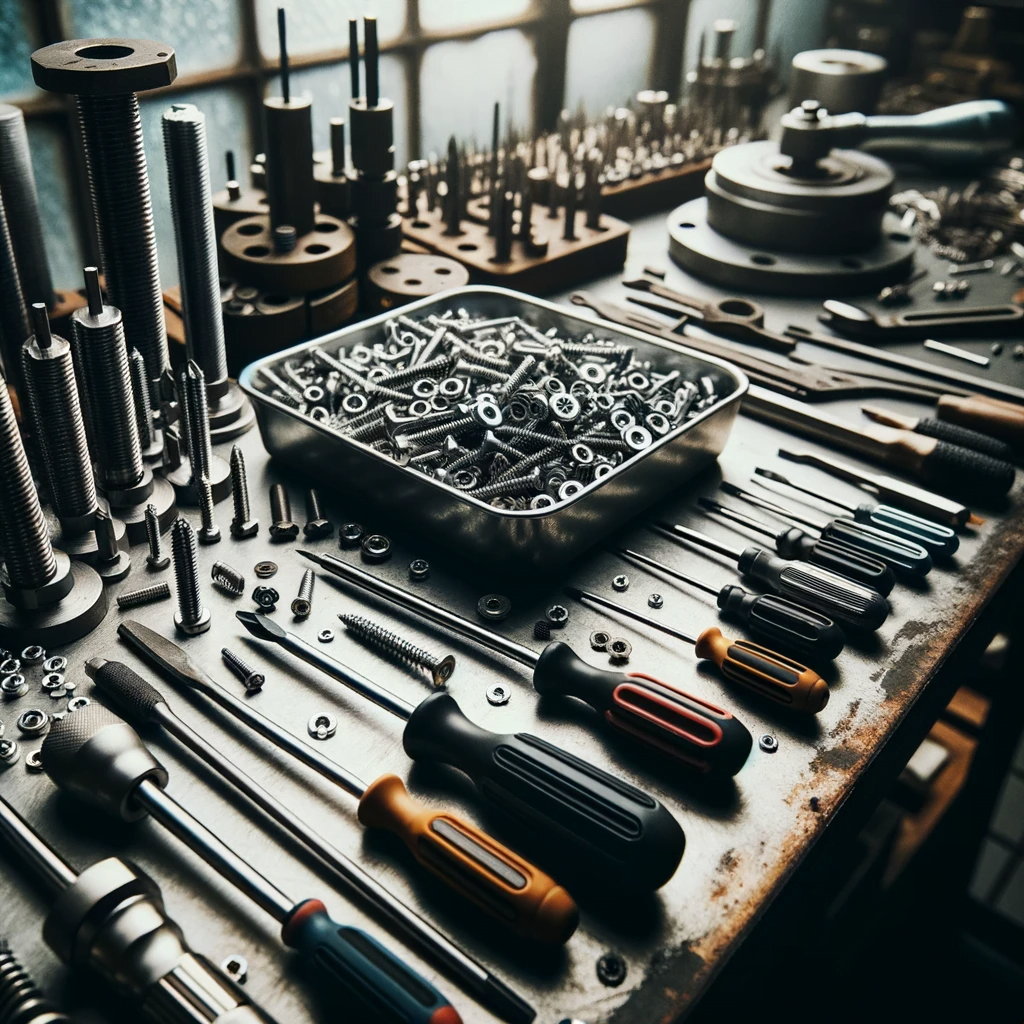
Table of Contents
What is a Stripped Screw?
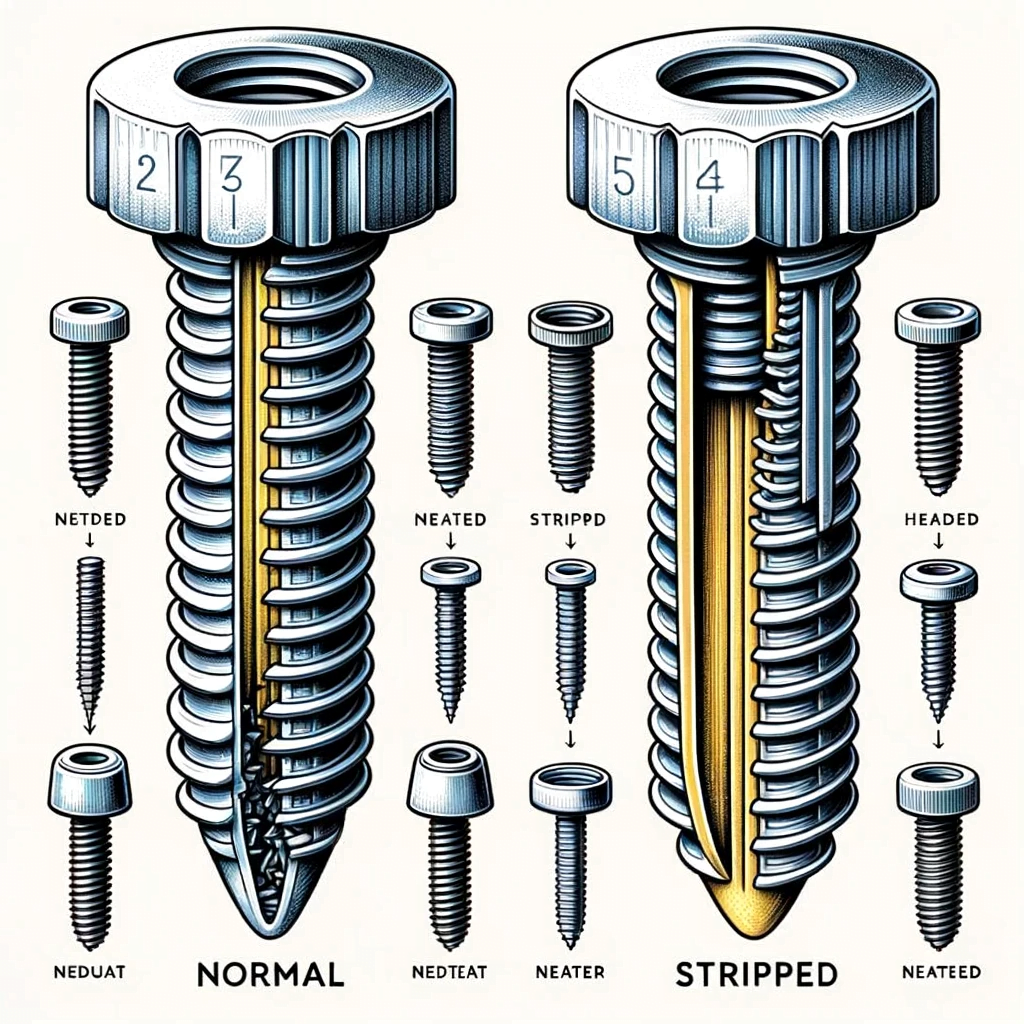
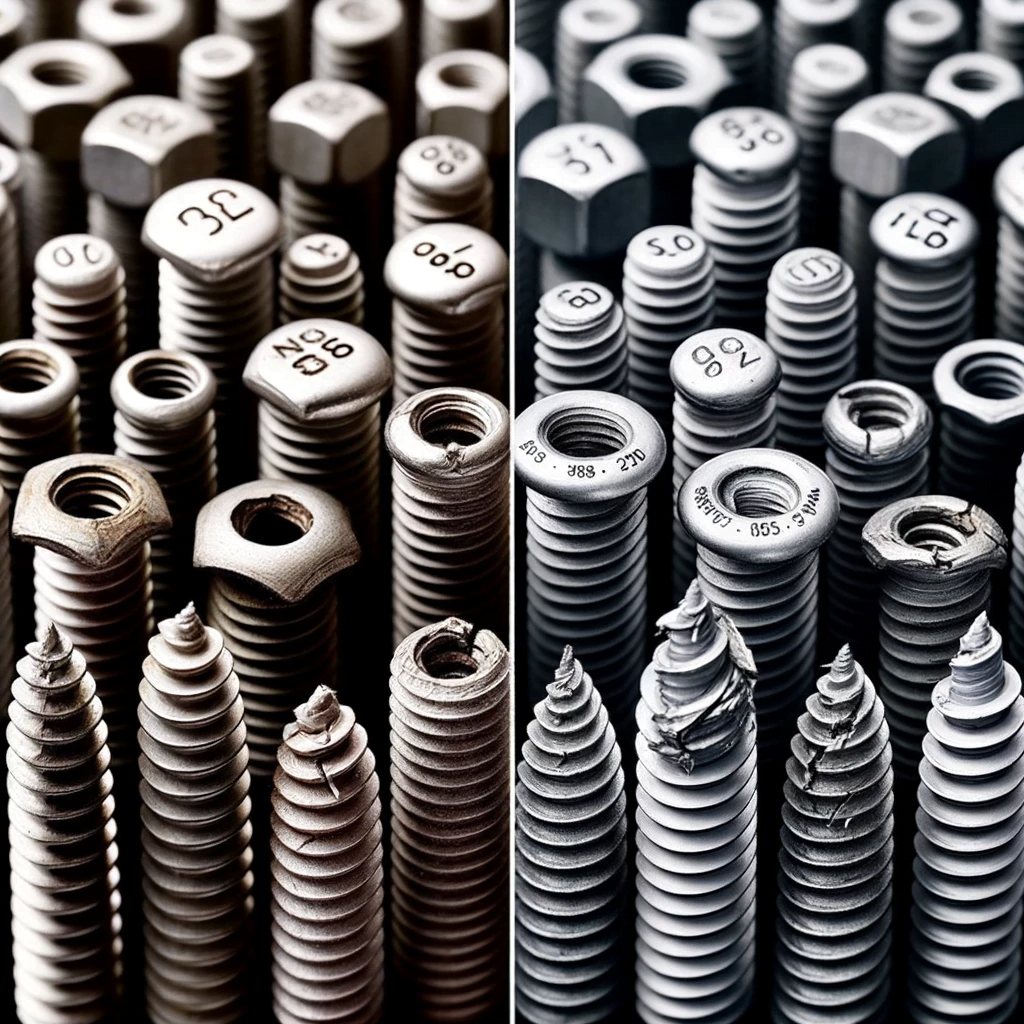
Before we explore the myriad of techniques and methods for extracting a stripped screw, it’s imperative to gain a comprehensive understanding of what a stripped screw actually is. In simple terms, a stripped screw is one that has lost its structural integrity in the head, where the grooves designed to accommodate a screwdriver or drill bit have been damaged or worn down. This deformation of the screw head can occur for a variety of reasons, which we’ll delve into later in the article, but the immediate consequence is that it becomes exceedingly challenging to generate the torque required to unscrew it using standard tools.
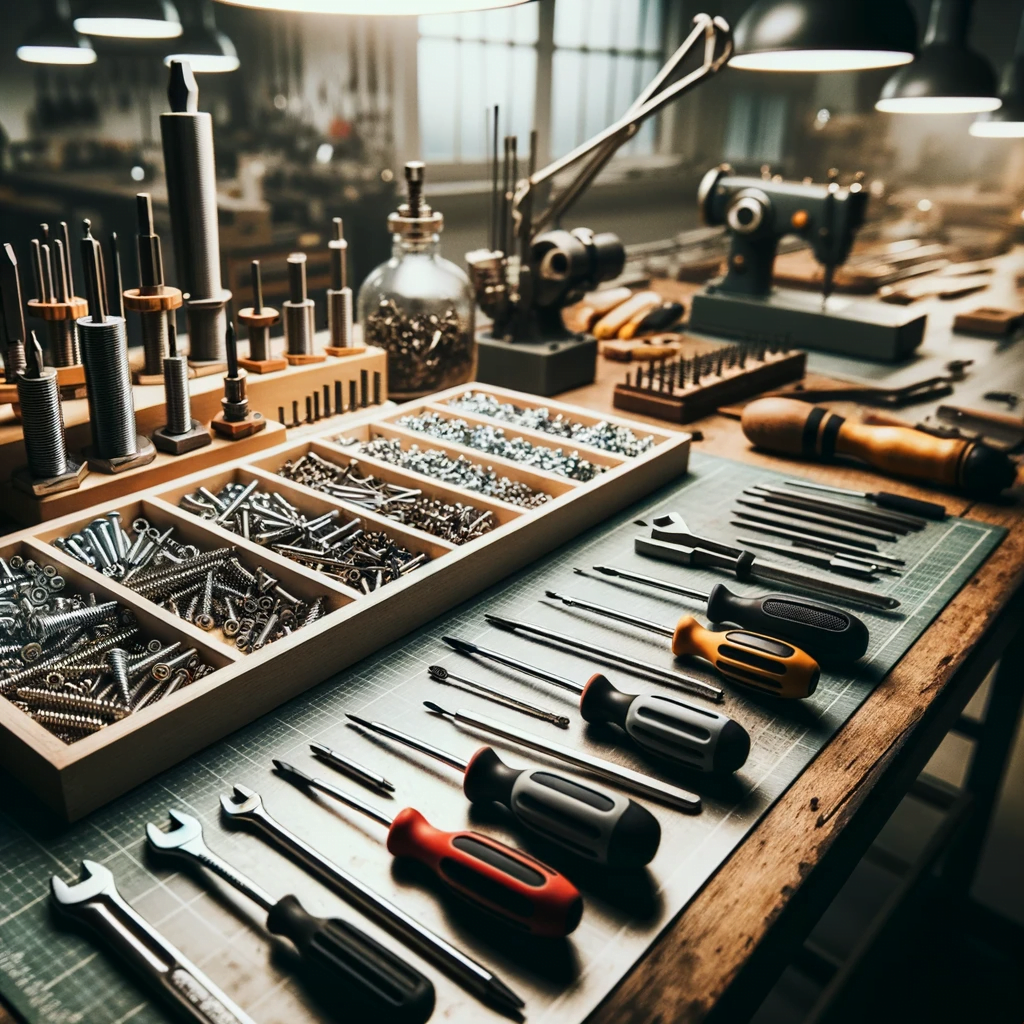
You might ask, why is this deformation such a big deal? After all, it’s just a screw, right? Wrong. A stripped screw can become a massive headache because it interferes with the secure assembly or disassembly of objects. Whether you’re working on a critical home improvement project, repairing an essential piece of machinery, or even assembling a piece of furniture, a stripped screw can halt your progress and put you in a bind. Imagine trying to disassemble a computer tower to replace a failing hard drive and getting stuck because a stripped screw won’t budge. The delay could result in data loss, additional costs, and untold frustration.
Understanding what constitutes a stripped screw, why it happens, and the complications that arise from it provides you with the necessary background to appreciate the solutions we’re about to discuss. This knowledge isn’t just theoretical; it equips you with the conceptual framework to approach the problem of a stripped screw more effectively, ensuring that you can take prompt action to keep your projects on track.
Causes of Stripped Screws
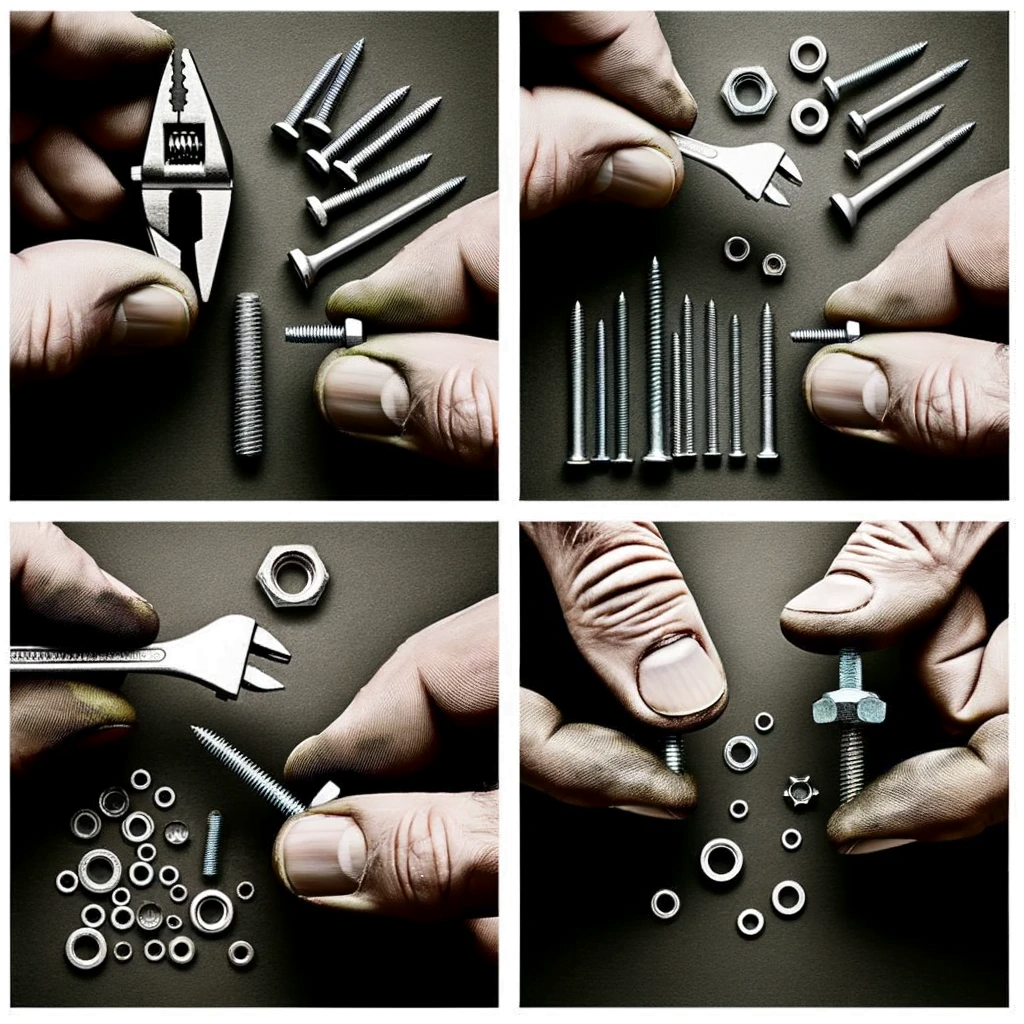
Uncovering the causes of stripped screws is a critical aspect of understanding how to prevent this frustrating issue from arising in the first place. Whether you’re dealing with a critical industrial machinery overhaul or simply trying to put together a piece of flat-pack furniture, the advent of a stripped screw can significantly complicate the task at hand. You might find yourself bewildered, questioning how a seemingly innocuous task went awry so quickly. The truth is, screws can become stripped due to a combination of factors that often go overlooked, ranging from the quality of the material used in the screw to the specific tools you employ. Furthermore, it’s not just the technical aspects that contribute to this problem; human error, such as applying excessive force or using incompatible tools, can often be the culprit. By identifying these causes, we can not only strategize the best methods for extraction but also implement best practices to minimize the likelihood of encountering a stripped screw in future endeavors.
Material Quality
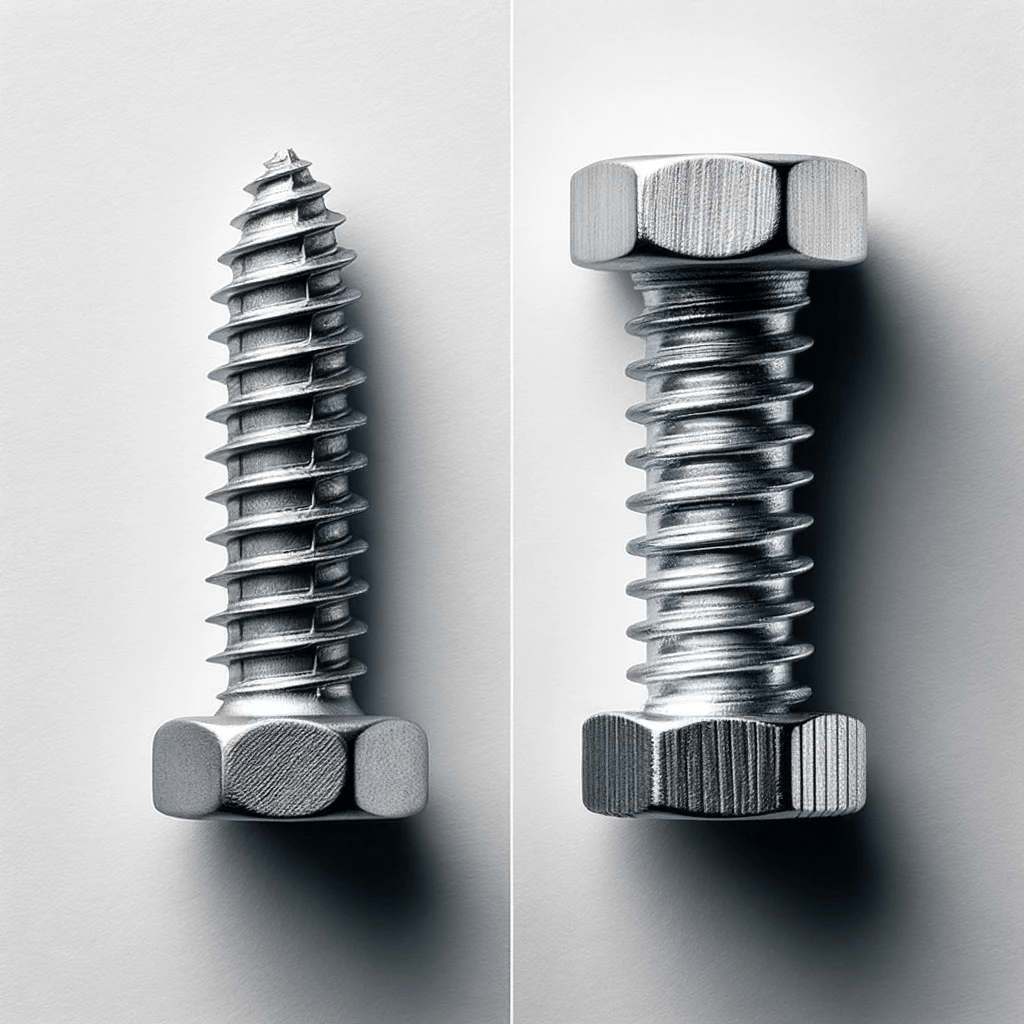
One of the often-overlooked factors contributing to stripped screws is the quality of the material from which the screws are made. While it may be tempting to opt for cheaper, lower-quality screws to save on project costs, this decision can lead to long-term problems. Lower-quality screws are typically made from softer metals that are more susceptible to wear and tear. These screws may not withstand the pressure exerted during installation or removal, leading to a higher probability of the screw head getting stripped. Consequently, investing in screws made of more durable material such as stainless steel or brass can save you from the hassle and delays caused by stripped screws down the line.
Wrong Tools
Another common cause of stripped screws is the use of incompatible or ill-fitting screwdrivers or drill bits. Utilizing a Phillips screwdriver on a flat-head screw or using a bit that doesn’t precisely fit the screw head can result in inadequate grip and torque. This mismatch between the tool and the screw not only increases the chances of stripping the screw but can also cause damage to the tool itself. Therefore, it’s imperative to always match the correct type and size of the tool to the screw to ensure a secure fit and minimize the risk of stripping.
Over-Tightening
While it might seem counterintuitive, applying too much torque can be as problematic as applying too little. Excessive force during the installation process can deform the grooves in the screw head, rendering it difficult to engage with a screwdriver for future removal. This over-tightening often happens with power tools that make it easy to exert high levels of torque without realizing it. To avoid this, it’s advisable to use torque-limiting tools or simply exercise greater care when tightening screws, especially in softer materials like wood or plastic that can be more susceptible to damage.
Wear and Tear
Over time, screws are subjected to a variety of environmental factors that can contribute to them becoming stripped. Exposure to moisture can lead to rust, which weakens the metal and can cause it to deteriorate. Similarly, temperature fluctuations can cause materials to expand and contract, putting additional stress on the screw heads and making them more vulnerable to stripping. Regular maintenance checks and using screws that are coated or made from corrosion-resistant materials can go a long way in mitigating the impact of wear and tear.
Tools Required for Removing a Stripped Screw
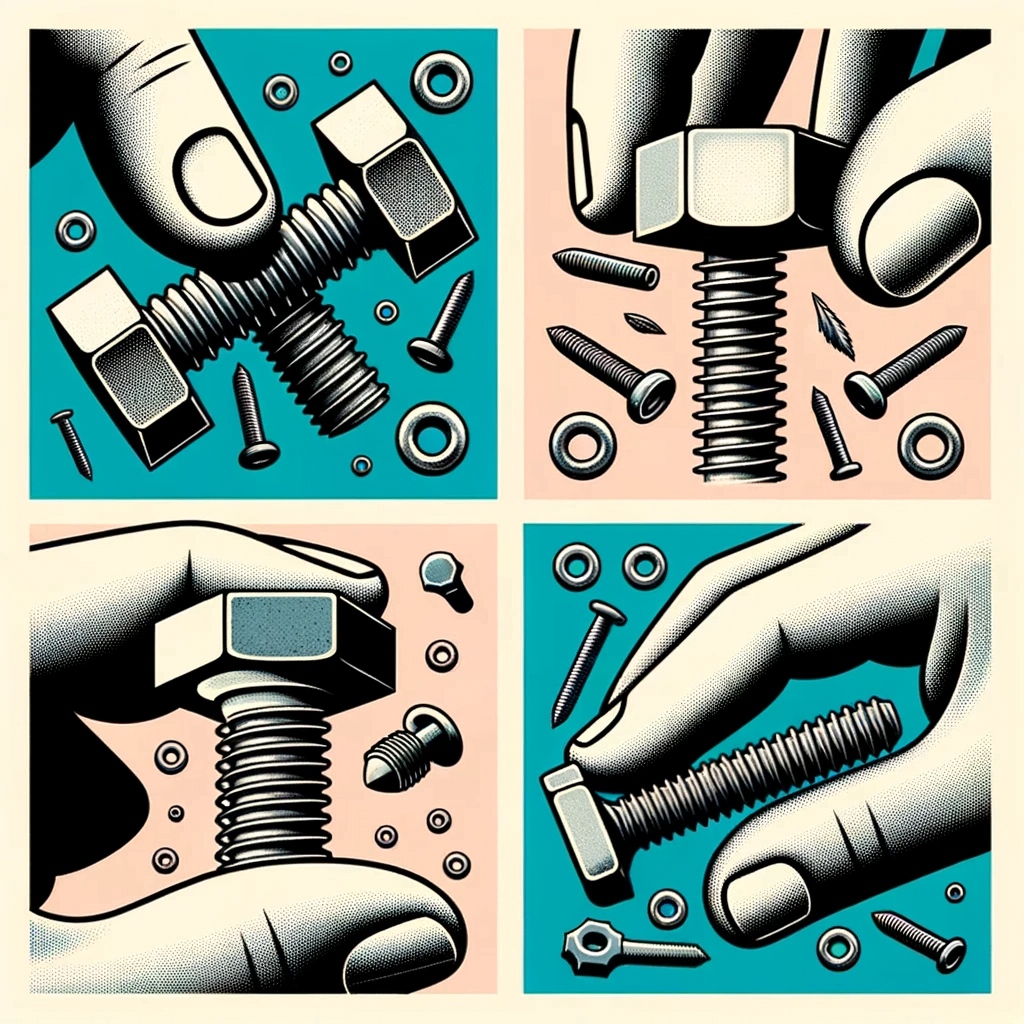
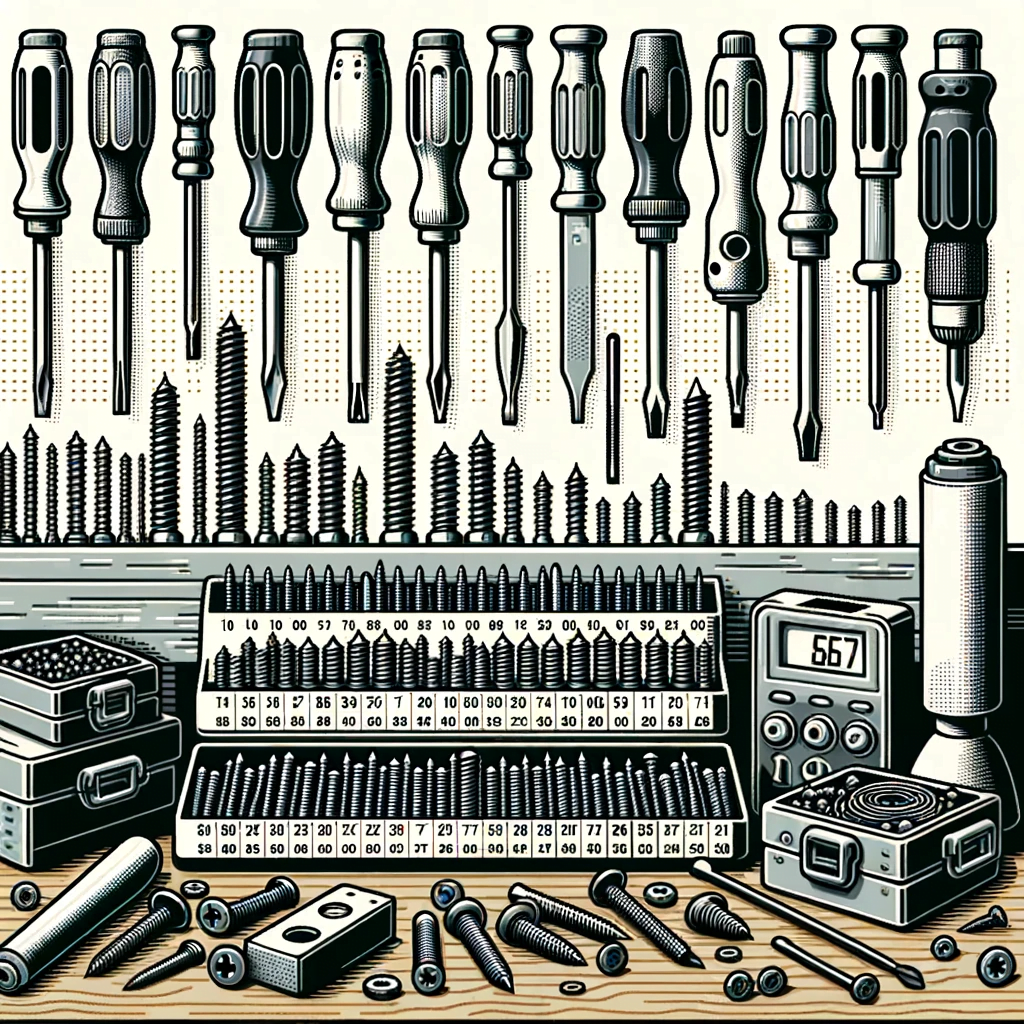
Facing the obstacle of a stripped screw is not only frustrating but can also be a project showstopper if you aren’t adequately prepared. Being equipped with the right set of tools is a game-changer when it comes to effectively addressing this challenge. The required tools can range from simple household items you might already have in your drawer to specialized equipment designed specifically for screw extraction. Depending on the severity of the screw’s condition and the material into which it is embedded, your toolkit may need to be tailored accordingly. But don’t let this discourage you; having a well-stocked toolbox can make the process of dealing with stripped screws considerably less daunting and far more efficient. Moreover, investing in high-quality tools can save you time and effort in the long run, not just for this specific problem but for a wide array of maintenance and repair tasks. So before we delve into the step-by-step process of removing a stripped screw, let’s first identify and explore the tools that will help you successfully conquer this challenge.
Flat-Head Screwdriver
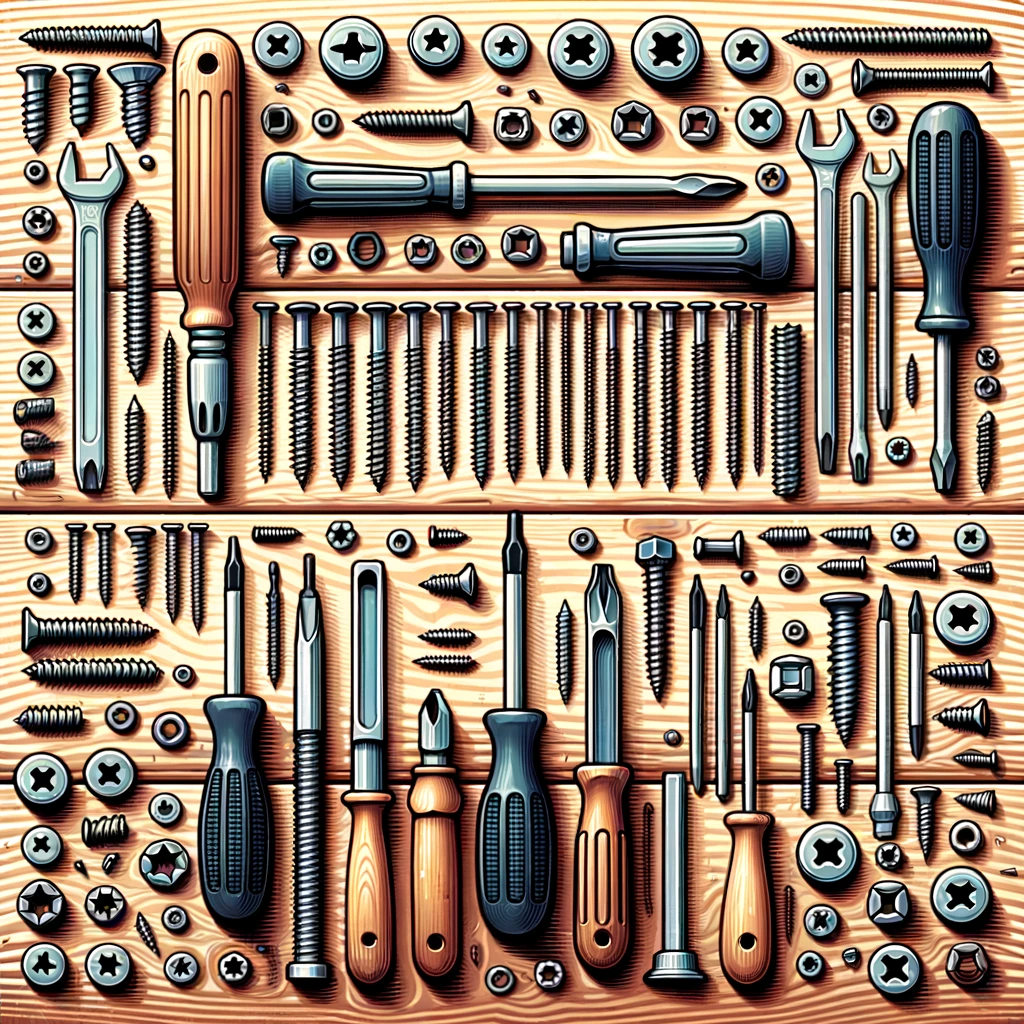
A flat-head screwdriver is not just an iconic tool found in nearly every household toolbox; it also offers a versatile solution for dealing with stripped screws. When the original screw groove is compromised, a flat-head screwdriver’s wider, flat tip can sometimes catch onto remaining ridges, providing the extra grip needed to turn the screw. In cases where the screw is only partially stripped, applying a bit more downward force with a flat-head can make a significant difference.
Phillips Screwdriver
Often, stripped screws are of the Phillips type, making a Phillips screwdriver essential for such scenarios. A quality Phillips screwdriver that precisely fits the screw head can be a lifesaver. When used in combination with techniques like using a rubber band for additional grip, a Phillips screwdriver can often successfully remove a stubborn stripped screw.
Rubber Band
A common household item, the rubber band can be remarkably effective in gripping a stripped screw head. By placing the rubber band over the screw head and then applying force with a screwdriver, the rubber material can fill in the gaps in the stripped grooves, offering enough grip to turn the screw. This is a simple yet ingenious way to deal with minor stripping issues without needing specialized tools.
Needle-Nose Pliers
Needle-nose pliers offer another method for tackling stripped screws. When the screw protrudes slightly from the surface, the narrow tips of needle-nose pliers can grasp the edges of the screw head, allowing you to turn it manually. This method is particularly useful for screws that are not overly tightened and can be turned without requiring substantial torque.
Hammer
While a hammer might seem like a brute force option, it can be used subtly to create a new groove in a stripped screw. With careful, measured taps, you can use a chisel and hammer to carve out a new slot in the screw head, allowing for a flat-head screwdriver to engage. This method is most effective for screws that are larger and more robust, as it risks further damaging smaller or more fragile screws.
Left-Hand Drill Bits
Left-hand drill bits are engineered to turn counter-clockwise, which is the direction you’d typically turn a screw to remove it. By using a left-hand drill bit, you can drill a small hole into the center of the stripped screw, which often results in the screw beginning to turn and back out due to the counter-clockwise drilling action. These drill bits are particularly useful for screws that are deeply embedded and cannot be grasped by pliers.
Screw Extractor Set
A screw extractor set is often considered the last resort for removing stripped screws. These are specialized tools designed to drill into the stripped screw head and then extract it. The extractors are typically tapered and threaded in a way that allows them to bite into the screw, providing the necessary grip to turn it out. While they can be highly effective, it’s generally advisable to try other methods first, as using an extractor requires drilling a hole into the screw, which can further weaken it if not done carefully.
You may want to read also about how to measure screw size.
How to Remove a Stripped Screw: A Step-by-Step Guide
Encountering a stripped screw is a common but frustrating obstacle that can derail your project timeline and test your patience. However, don’t despair—removing a stripped screw is not an insurmountable task, and with the right approach and tools, you can tackle it successfully. This step-by-step guide aims to provide you with a comprehensive resource that not only elucidates various techniques but also offers pro tips to make the process as efficient as possible. Whether you’re dealing with a slightly worn screw or one that is severely stripped, there’s likely a method in this guide tailored to your specific challenge. By understanding the intricacies of each method and pairing them with the appropriate tools, you’ll be well-equipped to remove stripped screws and get your project back on track. So let’s delve into the first of several methods designed to resolve this issue: The Rubber Band Trick.
Method 1: The Rubber Band Trick
Removing a stripped screw can often feel like a daunting task, but sometimes a simple household item like a rubber band can make all the difference. The Rubber Band Trick is a straightforward yet effective technique that employs the grippy nature of a rubber band to help you unscrew a challenging stripped screw. Below, we delve into each step of this method to ensure you get the most out of it.
Step 1: Place a Rubber Band Over the Stripped Screw Head
Select a rubber band that is wide enough to cover the entire screw head. Stretch it taut and lay it over the stripped area, ensuring it completely covers the damaged grooves. The rubber material acts as a filler for the worn-out screw head, providing a surface for the screwdriver to grip onto. Using a rubber band with sufficient elasticity and thickness will enhance the effectiveness of this method.
Step 2: Apply Downward Force with a Screwdriver
Choose a screwdriver that closely matches the original design of the screw head, be it Phillips or flat-head. Position the screwdriver on top of the rubber band, aligning it with the center of the screw. Apply firm downward pressure on the screwdriver; this will compress the rubber band into the stripped grooves and maximize surface contact for a secure grip.
Step 3: Turn the Screwdriver Counterclockwise
While maintaining steady downward force, begin to turn the screwdriver counterclockwise. The rubber band will fill in the damaged areas of the screw head, allowing the screwdriver to engage more securely. As you turn, you should feel the screw beginning to move. Continue applying force and turning until the screw is successfully removed. If the screw doesn’t budge initially, you may need to adjust the amount of downward pressure or reposition the rubber band to achieve a better grip.
Method 2: Using Pliers
When dealing with stripped screws that are not entirely flush with the surface, needle-nose pliers can be an excellent tool for removal. The advantage of this method lies in its simplicity and the direct grip that pliers can provide. Although it may seem straightforward, there are some nuances to consider to maximize the effectiveness of this technique. Below, we explore each step in detail to ensure a successful outcome.
Step 1: Grip the Exposed Part of the Screw with Needle-Nose Pliers
To employ this method, the first requirement is that some part of the screw head must be protruding from the surface. Once you’ve verified this, take your needle-nose pliers and carefully position the tips to grip the outer edges of the screw head. Make sure the pliers have a secure grip; otherwise, you risk further damaging the screw. Needle-nose pliers are ideal for this task because their long, narrow tips can easily grasp smaller or more tightly placed screws, which could be challenging for other types of pliers to reach.
Step 2: Turn it Counterclockwise
Once you have a firm grip, start turning the pliers counterclockwise. Exercise steady force but be cautious not to apply too much pressure as you could end up snapping the screw or stripping it further. The idea is to apply consistent torque to leverage the grip of the pliers and encourage the screw to move in the desired direction. As the screw loosens, you may find that you can finish the job with a screwdriver for better control.
Additional Considerations
Although this method is often one of the easiest routes for screw extraction, it’s essential to note that it won’t be applicable for screws that are flush with the surface or embedded too deeply. The pliers need to be able to grip the screw effectively, which requires some portion of it to be exposed. Additionally, using needle-nose pliers with rubberized handles can offer you a better grip, making the task less strenuous on your hands.
Method 3: The Flat-Head Technique
Stripped screws that are marginally raised above the surface offer a unique opportunity for removal by using the Flat-Head Technique. This method is particularly advantageous when the screw in question is neither deeply embedded nor protruding enough for pliers to grip. The technique requires a hammer and a flat-head screwdriver, and while it may seem rudimentary, its effectiveness is proven. Let’s explore each step of this method to ensure you can employ it successfully.
Step 1: Use a Hammer to Tap a Flat-Head Screwdriver into the Stripped Screw
To initiate the Flat-Head Technique, select a flat-head screwdriver that is slightly wider than the stripped screw head. Position the screwdriver above the screw and use a hammer to gently tap it into place. The idea here is to create new grooves for the screwdriver to grip, essentially converting the stripped screw into a flat-head screw. Take your time during this step and ensure that the screwdriver is firmly seated within these new grooves; this is crucial for the method’s success.
Step 2: Turn the Screwdriver Counterclockwise
With the flat-head screwdriver firmly embedded into the newly created grooves, apply steady pressure while turning it counterclockwise. The leverage gained from the new grooves should provide enough grip to allow you to turn the screw and start the removal process. If you encounter resistance, try applying more force gradually; but be cautious, as applying too much force could cause further damage.
Additional Considerations
The Flat-Head Technique is generally best suited for screws that are only slightly raised above the surface. If the screw is flush or deeply embedded, this method may not be applicable. Moreover, this technique requires some amount of precision and control. It’s crucial to hammer the flat-head screwdriver carefully to avoid damaging the surrounding material or injuring yourself. Always remember to wear appropriate safety gear when using tools like hammers and screwdrivers.
Method 4: Using a Screw Extractor
When dealing with screws that are flush with the surface or deeply embedded, the Screw Extractor method stands out as a highly effective solution. This technique involves specialized tools like a left-hand drill bit and a screw extractor, which can make the process more technical but also highly precise. Designed for stubborn screws that don’t respond well to other methods, this technique is worth having in your toolkit for those complicated situations. Let’s delve into the step-by-step process to understand how to get the most out of this method.
Step 1: Drill a Small Hole into the Center of the Screw Using a Left-Hand Drill Bit
For this method to work effectively, the first step involves drilling a pilot hole into the center of the stripped screw. It’s essential to use a left-hand drill bit for this task, which means that the drill bit itself is designed to cut while turning counterclockwise. The rationale behind using a left-hand drill bit is that it may, during the drilling process, catch onto the screw and start unscrewing it, even before you’ve had to use the extractor. Make sure to drill carefully and steadily, ensuring that the hole is centered to provide the screw extractor maximum grip.
Step 2: Insert the Screw Extractor and Turn it Counterclockwise
Once the pilot hole is drilled, it’s time to insert the screw extractor. A screw extractor is a tool designed with reverse threads that grip the interior of the screw as you turn it. Insert the tip of the screw extractor into the newly-drilled hole and apply a slow, steady counterclockwise force. Because of the tool’s reverse threads, it should lock onto the screw’s interior walls, allowing you to turn the screw and extract it successfully.
Additional Considerations
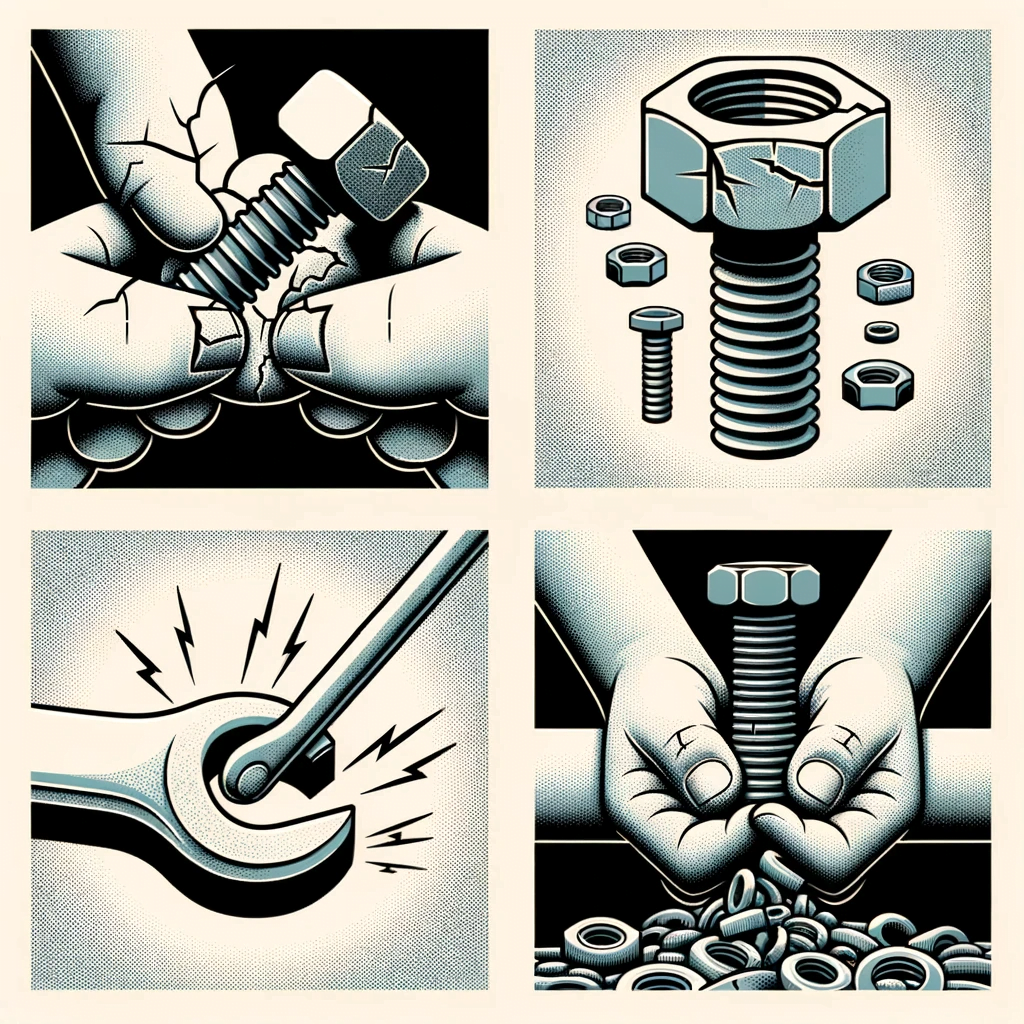
The Screw Extractor method is definitely on the more technical end of the spectrum and may require a bit of practice for those unfamiliar with these specialized tools. Always remember to wear safety goggles and follow the tool manufacturer‘s guidelines for optimal results. This technique is best reserved for those situations where the screw is flush or below the surface and where other methods have proven unsuccessful. It’s a powerful technique but demands caution and precision to avoid causing additional damage to the material or the screw.
You may also want to read about how to remove stripped screws from metal.
Stripped screws are far more than a mere inconvenience; they have the potential to become significant stumbling blocks in various construction, repair, or renovation projects. Whether you’re an expert craftsman, a DIY aficionado, or even someone who’s just looking to hang a picture frame, encountering a stripped screw can be frustrating. However, with a diversified toolkit and an understanding of the right techniques to deploy, you can turn this challenging scenario into a minor hiccup rather than a full-blown derailment of your project.
The key takeaway is not just knowing how to remove a stripped screw, but understanding the right method to apply based on the particularities of your situation. Factors like how flush the screw is with the surface, the tools you have at your disposal, and your level of expertise can all influence which method is best suited for you. Whether you opt for the simplicity of the Rubber Band Trick, the leverage of using Pliers, the blunt force of the Flat-Head Technique, or the technical precision of a Screw Extractor, your choice must be informed by these variables.
Remember, patience is not just a virtue but a requirement when dealing with stripped screws. Rushing through the process or applying excessive force can make the problem worse, potentially damaging the material you’re working with or causing injury. Taking a measured, thoughtful approach can save you time and resources in the long run, enabling you to get back to work with minimal disruption.
Feel free to bookmark this guide for future reference and share it with anyone who may find it useful. For more such practical guides and insights, stay tuned to our blog.

No Comments